Pages

Monday, October 22, 2012

So, I have been getting a lot of green beans since it has cooled off here for what passes as fall. We have had a bit of rain but most days it is still in the high 70's low 80's. It is much easier on the plants now and we have all our fall crops growing like mad!
So with the piles of green beans comes needing to store them so they can be eaten all winter. I know a lot of folks can them but I really prefer freezing them. I think they taste fresher. I may have to can them some day after the zombie apocalypse but for now while we still have power I will freeze them =) It's easy to do and fairly quick as well.

So get those beans in and give them a wash. Even though I grow my own with no pesticides, I wash them, you never know what little critters have been on them.
Trim the ends off where you picked them from the plant. I was trimming both but have decided to leave the free end on, save wasting beans.


 Get a pot of water boiling like crazy!
And drop them in the pot. They need to boil for 3 minutes so start counting from the time they start that boil again, which with my gas stove  only takes it a short time. Be sure and use the cut ends in your compost pile. No waste is the goal.!
3 minutes of boil time!
Take them out strain them and immediately dump them in a big bowl of ice cold water. Then leave them for 3 minutes again or until they are cold. This stops them cooking right away, so you don't have cooked mush when you get them out. I then line a cookie sheet with a bag and layer the beans in one layer on it.
Pop them in the freezer to freeze. I like doing it this way as it prevent them sticking in huge clumps and they break apart easily when you are getting them out to cook.
Mark your freezer bag, because no matter how brilliant your are you are not going to remember the exact date you did these =) I am lucky if I remember the century! Pop them in your deep freeze and enjoy. They taste so good and if you have extra's eat them fresh from the garden for lunch or dinner. They are really great that way!
Happy gardening!

Wednesday, June 27, 2012

Freezing Beans and not the furry ones either.

I love to garden and one of my newest finds is beans, not liked baked beans but green beans or string beans I guess. I did not have much success last year with them but this year they have come to life. And oneof the things I have discovered is, if it says pole beans, get a pole (the package usually says on the outside). They will produce much better =) Just a lesson learned on my part.
I pick my beans when they are about 5 inches long or longer or they start getting really fat but don't seem to be getting longer. Probably some weirdness to do with water and soil and something I hope to fix someday. I collected these over 2 days and wait until I have a bunch before blanching and freezing since it seems a wasted effort to do it for 4 beans. I don't want to leave them in the fridge for more than 2 days either so they won't get nasty.
 Have a large pot of water on the stove getting ready to boil. It will take a few minutes and you can trim your beans while it heats up.I cut the end off with a small paring knife, feel free to snap them with your fingers or whatever way is easiest for you. I am lazy and don't have a lot of extra time so I line them up evenly and cut several at a time. (read this to mean as many as I can get in my little paws at one time without messing up )
You will end up with a bunch of bitty ends which I throw in my compost bucket. and then you will have another lovely pile of trimmed beans ready for the hot water pot. Once it is boiling throw them in the water and cover them.
Boil for 3 minutes in the lovely hot pot. This helps get rid of bugs and anything else that might be residing in or on them and apparently helps with some enzymes of sort to keep them from getting nasty after freezing. You can look up the science of this if you wish. I just take them at their word. during this time have a large bowl or sink of really cold ice water ready for when your buzzer goes off. Once it does strain your beans and plot them immediately into the cold water. This stops the cooking process, since you don't want cooked beans until later, when you eat them.
Once they have cooled off, and you can feel them in the water to see, strain them again. I then put mine on cookie sheets I have lined with walmart sacks. I have found they stick to the plan sheets and using saran wrap was costing too much for my taste. I turn the walmart sack inside out, wipe it down and put them on in a single layer, like on the two trays above.
I then stick them in the freezer until they mostly frozen , I guess an hour or a bit more. Then take them out. They come off the lining really easily, just pick it up by the edges and they slide right off.
Now to put them in your freezer bags and feel successful one more time =) Be sure and mark your bags because no matter what kind of smarty parts you think you are, you will forget when you did this. Another lesson learned, by me. I have one full bag and another partial bag. I take the full one to the deep freeze and keep the half full one upstairs in the small freezer. The next batch at the end of the week will fill it up and then it too shall have to move.

My goal is to get enough to use through this winter and to also give some to my family and friends. A garden isn't worth much if you cannot share =) Have a great week!!

Thursday, May 3, 2012

Death to Critters!!

I has a friend in my gardening group share a recipe she found for home made critter spray. From the ingredients in it, my guess is it should work without to much trouble. I put it together today and am going to start testing it in the garden, but wanted to share it here in case anyone else would like to try it. I am always on the hunt for any type of good organic bug repellents.Please note, I have not tried it yet so I am not sure about it's effectiveness or what it will do. I will keep you posted.
Chop up 1 cup of onions. I used one medium onion and it was just about right. I placed everything in an old large cool whip container. I expect I will keep this just for the mix. I am pretty sure you would not want to put anything else in here once it's mixed up =)
The recipe calls for 5 cloves of garlic, but mine were really big so I used 4. It didn't say if you should peel it or not or chop it so I just smashed it with a meat mallet so the garlic would marinade nicely. =)
Then add 5 tbsp of a hot pepper powder. I wasn't sure what to use since I do not cook really hot items but I found this at Walmart. From the scent of it, my guess is it will work. 
Add 2 cups of water,
cover it up and let it sit for 24 hours. Then strain all the garlic, onions and pepper (what will come out) and put in a spray bottle.Mine will be ready in the morning. I have not lifted the lid because I am afraid of how it will smell. Tomorrow will be soon enough.
I expect this liquid is hot so I would keep it away from children, pets and probably most people. Also wash everything really well after you are done using them. I will keep this tub just for garden things.
I will start testing it this week and see how it goes and keep you posted. If anyone tries this let me know how it works for you!
Happy Gardening.

Saturday, April 21, 2012

We are adding to the family...

The garden family that is. These are 4 of the 6 new boxes that we or should I say Ivan has added for me. He builds them and fills them with the top soil and then I plant the seeds and weed and care for it. =)
The two front one s are deeper. I wanted the one on the right for carrots and they need a deep bed to grow for the length so this is it. I put corn on the right since I want to be sure actually get some to harvest.
Our corn is coming along exceptionally well. Last year at the point it was purple and stunted and very sad looking. We found out it was a phosphorus problem and added ash from the wood stove to help out with this. So far it seems to be doing ok. We will see as the season progresses. The picture below is the corn from 10 days ago so you can see the difference.
 It has gotten very full as you can see. Now to hope it grows tall and actually gets corn. That would be nice!
And my herbs pots are coming along very nicely as well. We made sure everything had lots of fertilizer because I think last year we did not have enough. I have even been able to start using these in my cooking.
We have been very lucky for an exceptional spring this year, warm and mild, with only a bit of rain and not to many tornadoes. I am really hoping for a mild summer so the garden does not bake. We'll see =)
Enjoy your week!

Wednesday, April 11, 2012

It's SPRING!!!

 It is that time of year again, at least here in the south, and garden prep and planting is well underway. My biggest and strongest helper is hard at work helping me get soil ready, new boxes built and filled and the fence put up to keep out the large dogs.There is no keeping the small dog out, his nick name is Houdini.

 Getting this fence up is vital to the health of my garden. Not only do my dogs like to wander in here but once we add fertilizer they want to eat it and the fruits and vegetables. We had this from last year and even with the garden expansion we were able to make it work. It does not keep out Tucker (aka Houdini), he can slip under easily but he has learned to stay out of the boxes so we let him wander.

 It is not very tall but it is a psychological thing. (for me not Tucker) and the big dogs =) Ivan has mowed in there now and weed wacked and everything looks so nice.


The corn is now transplanted in it's box and then I found out it does not do well with transplanting. Of course, because I did not look this up and it had never occurred to me you could not. Some days...
I am really excited about the garden this year. I did add a lot of wood stove ash to the corn this year so hopefully it won't turn purple and get stumpy. It is getting bigger and seems to be staying green. We shall see...
Stay tuned for more pics and see how awesome this garden will be (we can only hope)

Sunday, September 11, 2011

On the Hunt for the Tomatoe Horn Worm (and other garden pests)

As a new organic gardener I have had to learn a lot about things that will cause problems in my garden and one of those is garden pests. Bugs and other creatures that will cause LOTS of problems in your garden. I hate bugs in any shape or form and I really hate the ones who try and eat and destroy my good garden veggies and fruit. (although at this point if they wanted a cucumber or two I would probably not fuss=). I have had to do research on the internet to find home organic remedies for what will get rid of these pests without killing off the bumble bees and other little critters that you need out there.

Living in a very warm area we gets lots of bugs but the one I have way to may of is grasshoppers. I have a LOT of grass hoppers, if you know anyone who likes to eat them, send them over, they could have many a meal from my garden. I looked on line to see how to get rid of them and found a very unique way to rid yourself of the little bugger. Flour, plain old all purpose flour.You put it in a paper bag, poke holes in it and then early morning you sprinkle it over your tomatoes or whatever else it is on. It supposedly gums up the grasshoppers mouth so they cannot eat anymore. My concern became if it will do it to grasshoppers will it do it to the good critters? I have not found an answer to this so I have chosen to not do it and just go to my garden a couple of times a day and whack them off with my hand or take a couple of cucumbers and whack them together with the grasshopper in between. It usually does the job.

 One of the biggest and nastiest things I have found is the horned tomatoes worm. This bug is big, probably the size of my index finger. And nasty! No mater what you do that sucker sticks to the branch no matter what. And if you leave it, it will eat everything in site on your tomato plant and I mean everything. This is the third one I have found in my garden and it had only eaten a little bit, but the first one I found had eaten a whole plant before I found it.
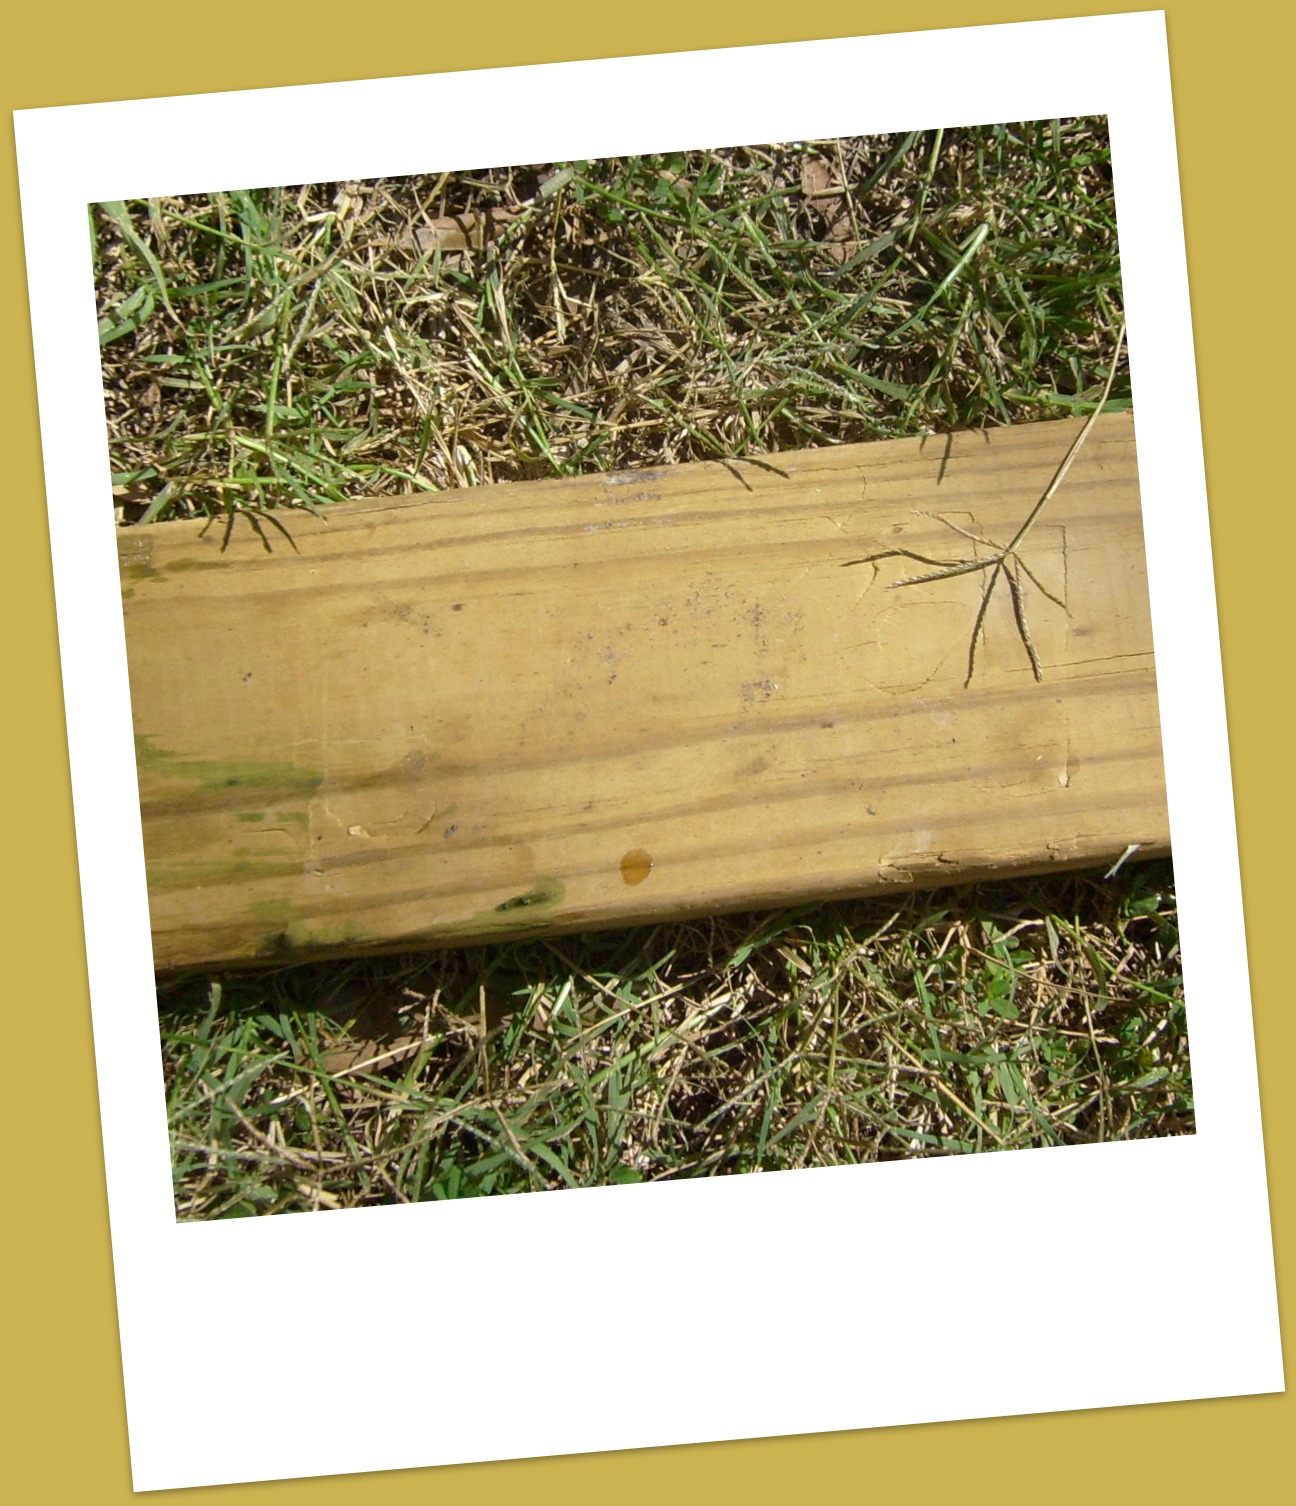
So I found a solution for these nasty huge things and it is very effective, knock them off and beat the crap out of them until they can't come back.My block of wood for just this purpose =)
Of course there are other endless little bugs, you could go on  forever, but I won't. These two are the ones that bug me the most and these are my organic solutions.I do have other garden pests, that I will not get rid of.
The fence I have up stops the big dogs but it will not stop Tucker. He certainly thinks it is not there for his benefit at any rate. So we watch him when we are out there to make sure he does not ruin anything and let the fence works for the big dogs. It does work for them.So this is the way it will be.=)


Thursday, August 25, 2011

10 things I have learned about gardening

I am not a professional gardener, by anystretch of anyone's mind. I have grown plants & flowers and helped with a garden when I was very small, but that is about the extent of my experience except for an occasion dabble here and there.This will just be my experiences that I have had and maybe you can take something with you from it.=)
We do raised box gardening and are attempting to keep it all organic, no small chore, but a worth while one for everyone in the end. We live in Arkansas so we will have some different things than other places but I am guessing the general gist will be the same.
Ten (or maybe more) things I have learned about gardening.
1. Raised boxes makes for great gardening when your yard is a waste  land (provided you follow number 2), drain well and are easy to work with.
2. Make sure your soil is good soil. we went to our local home improvement store and got top soil which came I am guessing from a nuclear waste zone. When our plants turned yellow like they had hapititis , we knew something was wrong. Test your soil BEFORE you waste all the time and effort and it will surely create some better plants.
3. Most things can be started early, although I have read up and there are few things that need to be sewn directly into the soil. It makes for healthy plants,  & allows you to get the drop on nature. Here we have an early last frost and we can grown well into fall.
4.Make sure you give everything lots of room to grow. Plants need some personal space too.I in my crazy exuberance made sure and plants lots and lots of tomatoes in the box. In the beginning they looked great. Now I have a small jungle where gnomes run and hide and eat my tomatoes because everything is so close and following up with number 5
5. Make sure you stake those roomy plants. Mine have grown huge and bushy giving said gnome a good place to hide and not allow air and sun to circulate around your plants. I have lots of flowers now and tomatoes forming but it took them a while to get here. I also blame this on the nuclear waste from number 1.
6. You can get a LOT of cucumbers from a few plants.I mean a LOT! Keep what you need for yourself and share the rest with family, friends and neighbors. Don't eat to many at one time, things do NOT bode well when you do. (pardon the dust in the picture we are renovating and it is everywhere)
7.Cucumber and melons will vine everywhere, up tomato plants, corn stalks and fences. Give them their own little place to climb so it dosen't affect the rest of your plants.Those little tendrils they send out will choke the life out of anything once they hang on.Plus you will have a cleaner veggie that the gnome won't be able to get so easily. ( a big stick helps as well)
8.A little helper in your garden never hurts anything and they will learn the love of gardening as well. Children love to help and Ivy spent a lot of her mornings helping me in the garden.It was very beneficial to both Peaches & Ivy =)
9. I have learned what cucumber bugs, eggs from other critters, squash vine borers and other nasty's look like. I am not afraid to thump them or squish them with my bare hands. nasty buggers. They will kill your plants, so get rid of them when ever possible!
10. Your dogs will want to be in your garden, they cannot help themselves. 
You may need to put up a small fence. It is probably more psychological for them but it does help. Unfortunately it does not keep our small dog out. He climbs under it, never occurring to him, it was meant to keep him out as well as the big dogs. We just found a small plastic one from Lowes with some small posts and it works just right.
11. It is always important to have a little fun. After all what is life without some enjoyment. Take some time to relax after you have worked hard. It makes going out to your garden much more enjoyable.
 12. And of course the reason we garden is to get the reward at the end. Since this was my first serious try I wasn't sure how it would turn out but so far I have been pleased, I have learned a lot and we have had some nice tasting garden items with only organic pesticides so no poisoning is eminent
.

ENjoy your week